Week 11, Assignment 11
Machine Design
Video - Week Eleven, Lecture Eleven
Light Art Machine
Goal
This week was about to finish the Machine which we started building in the Week 9 Assignment. This week Prof. Neil explained us about various control systems and control loops which is used in the existing machines. Later for upcoming week then our task is to make the machine work and carve the workpiece mounted on Turntable of our Machine.
The Goal for this week will be to Carve the First Block out using our 3-Axis Router and to Finish the Documentation with a Video.
Introduction
Last week we made a Proof of Concept Design and Prototype of our Wood Carving Machine, so, this week we decided to move with the final Design and Prototype of the machine. After doing a lot of brain storming and after going through with various iteration of rough design, we decided to move forward with first designing and then prototyping it via all the process of Laser Cutting, Assembling, Electronics, Testing, etc. So we first decided to divide the task among us, I took the Designing part and will be helping in Assembling the Prototype.
Design
I started to design the new second prototype of the machine which we were going to make for Carving Wooden Block. I used Catia for designing the machine, I designed the machine such that it can get cut easily on Laser Cutter and can be press fitted. Few parts which can't be laser cut was made such that it can easily be 3D printed in less time. The designing took a lot of time but as it was completed it made most of the work easy for further processing. The design images can be seen below:

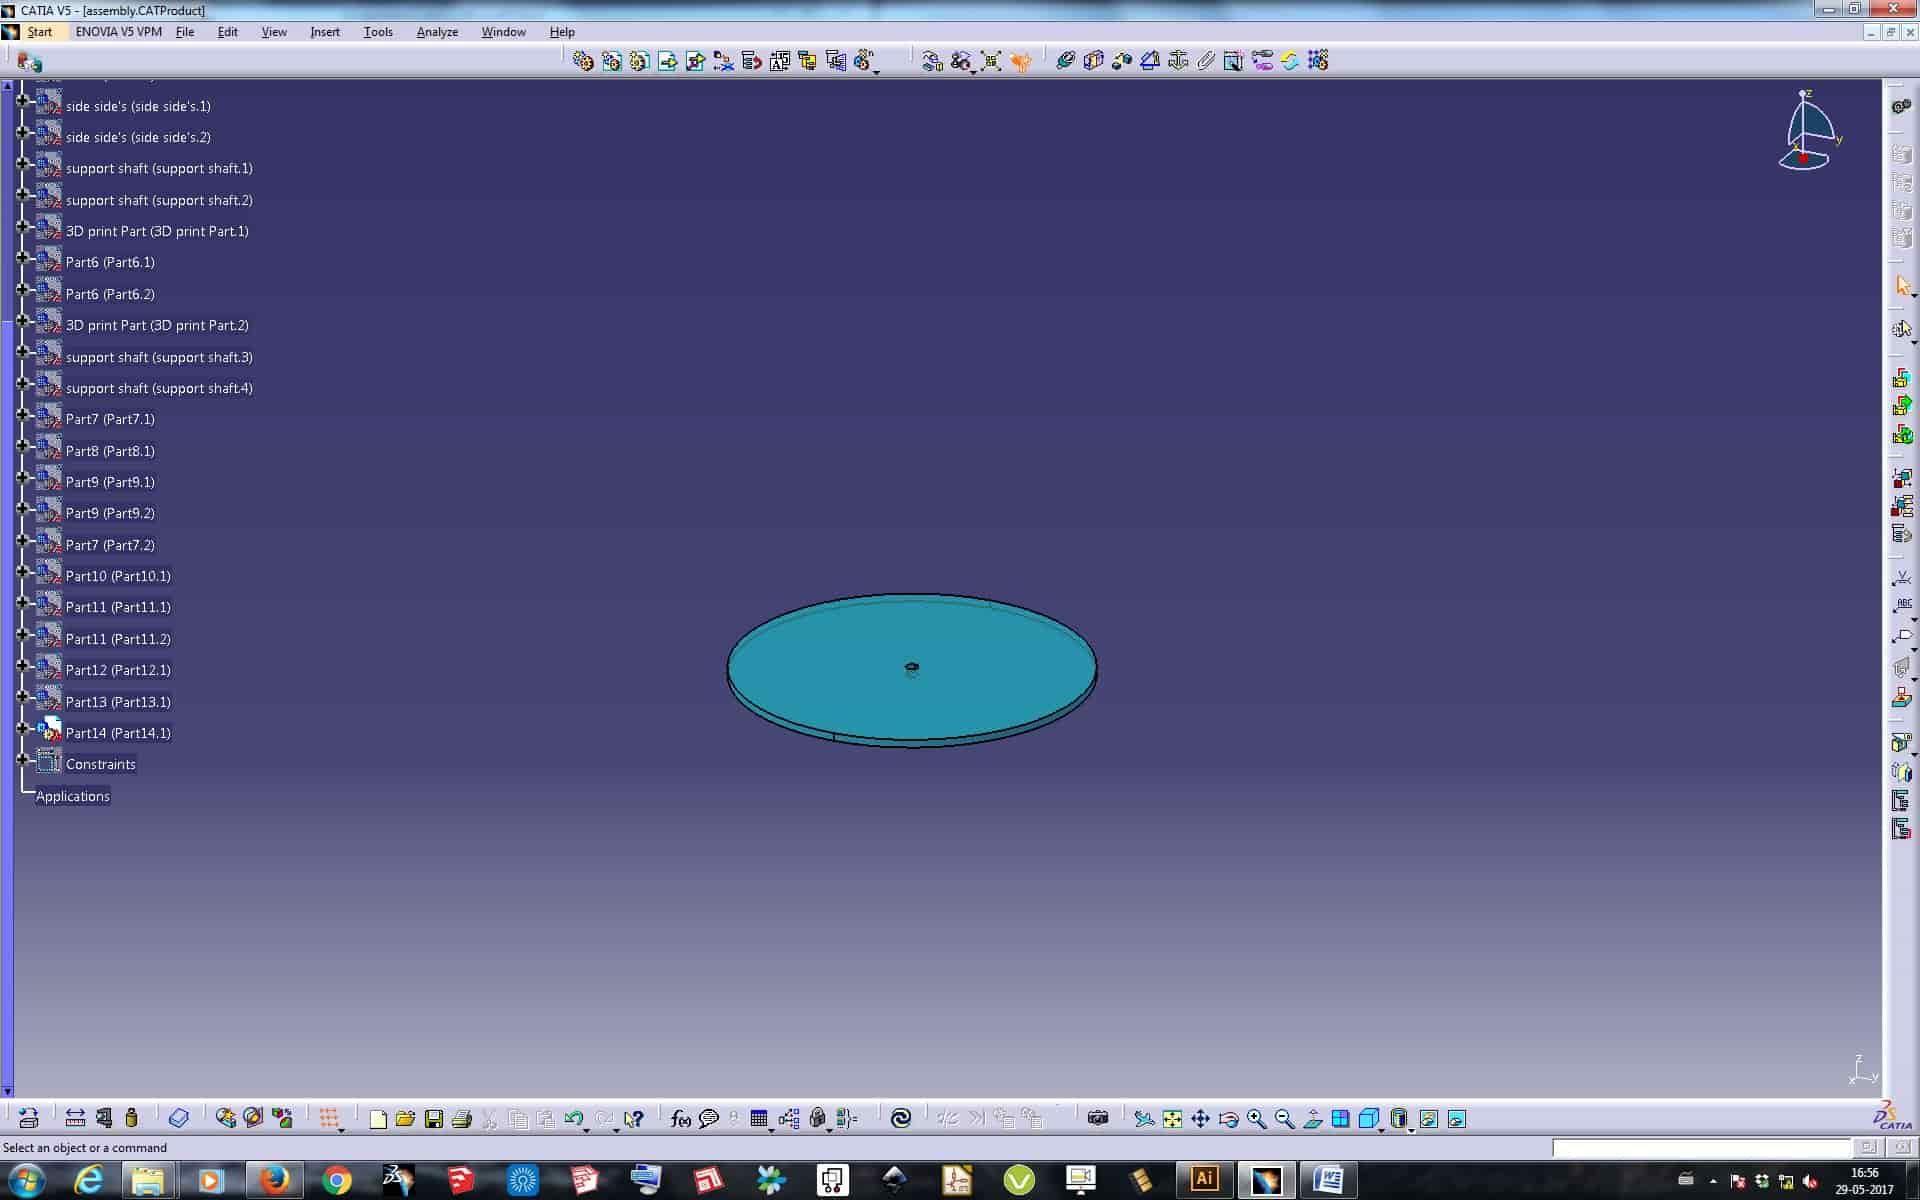
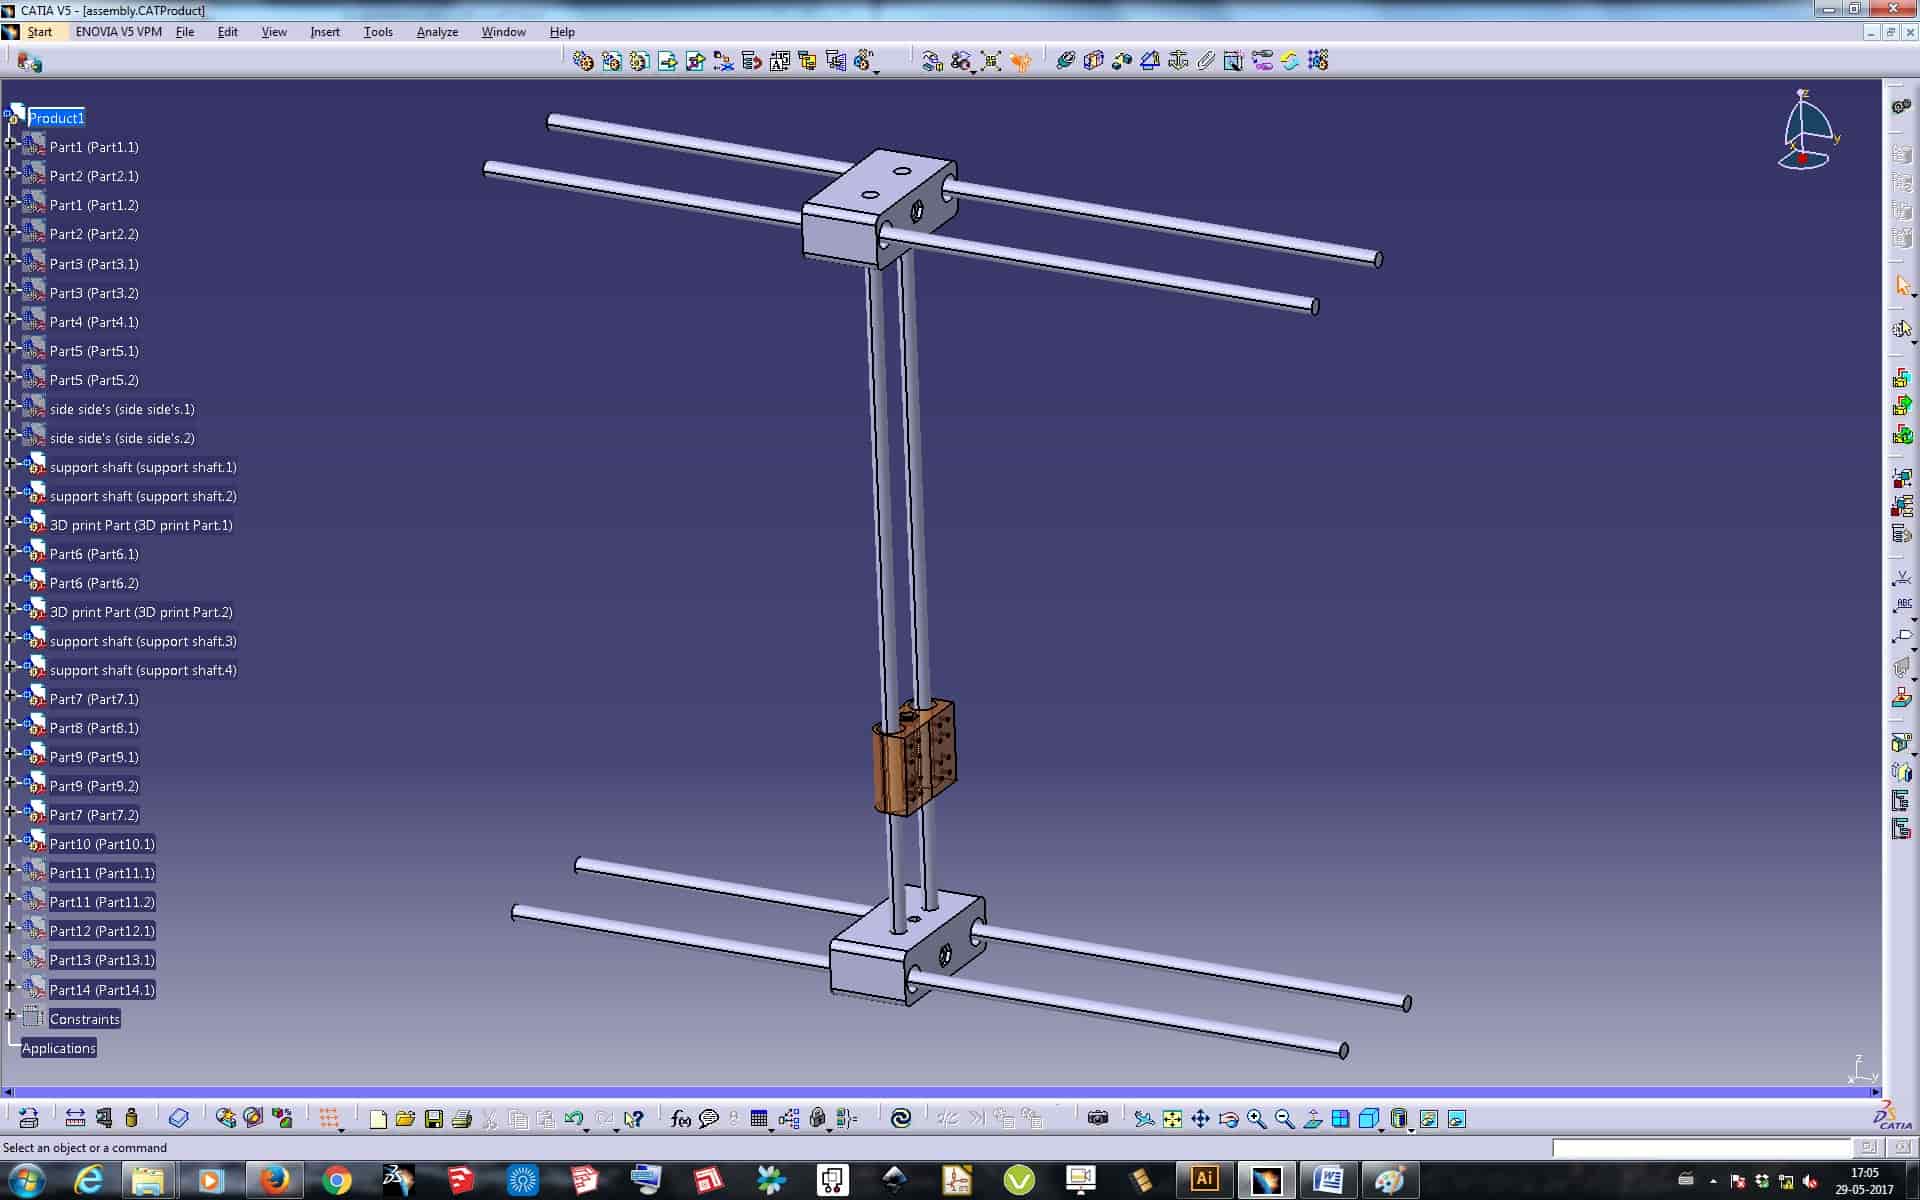
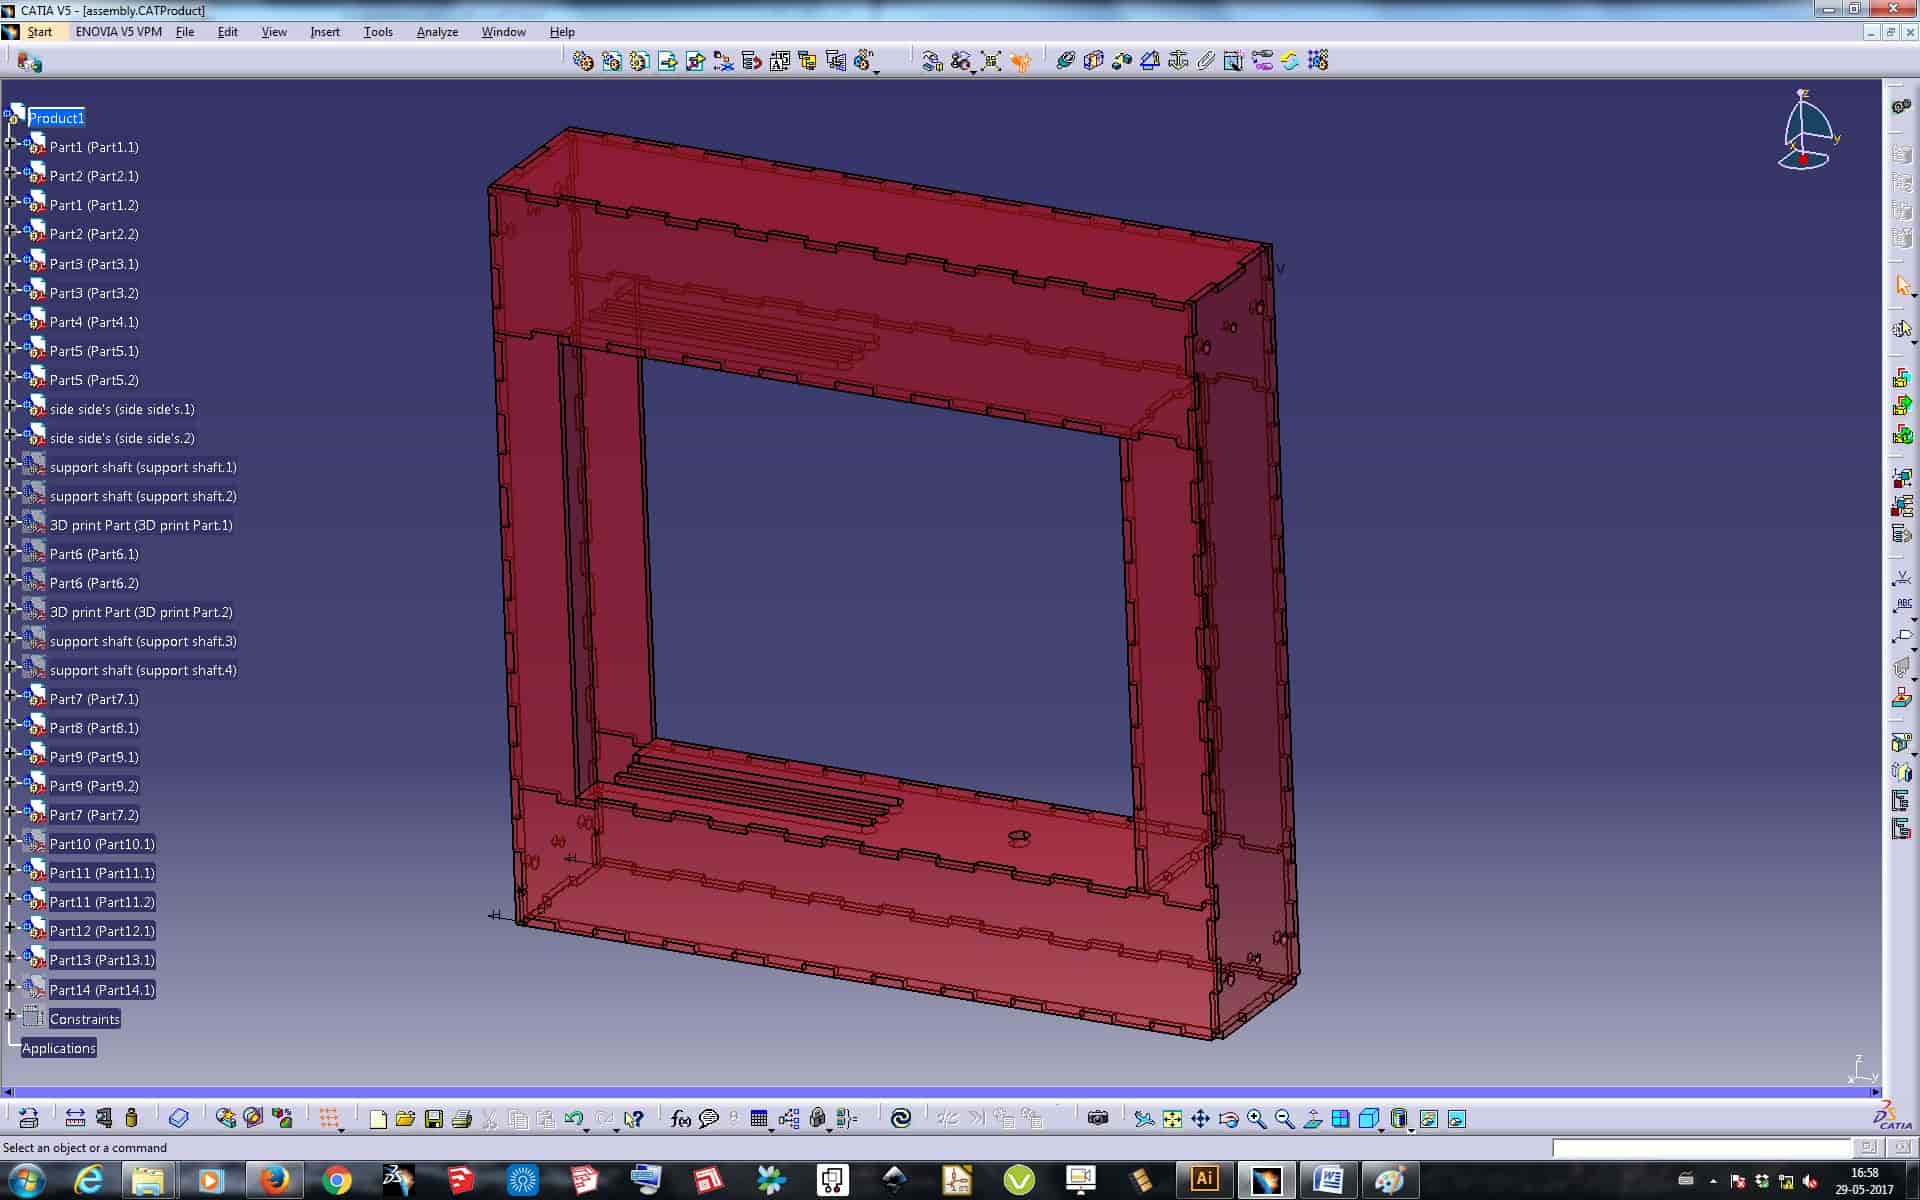
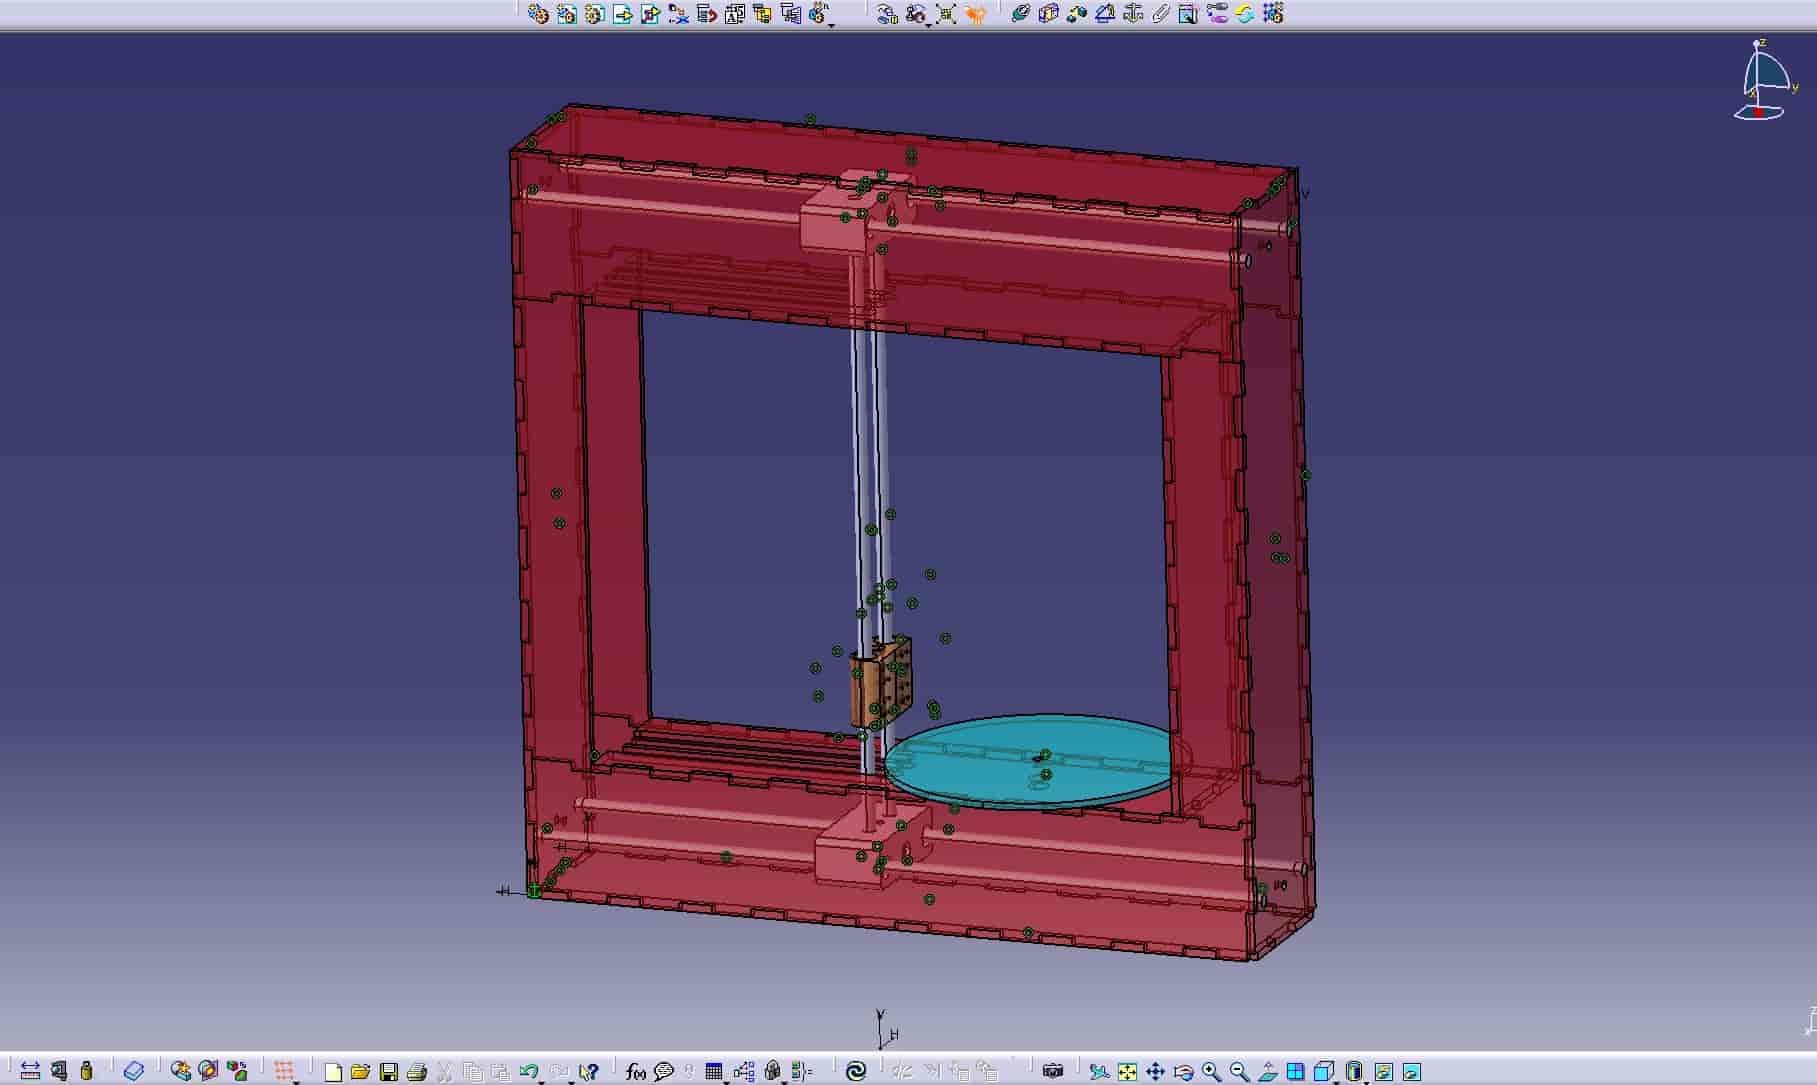
Design Files to Download:
Design Files of Wood Carving Machine
Assembly:
Assembly included laser cutting the parts and sticking it together to make a whole machine with all its parts and components. So basically this was distributed in between me and Pratik, so as Designing was done by me so Pratik will do the Laser Cutting work and we both will be assembling it together.
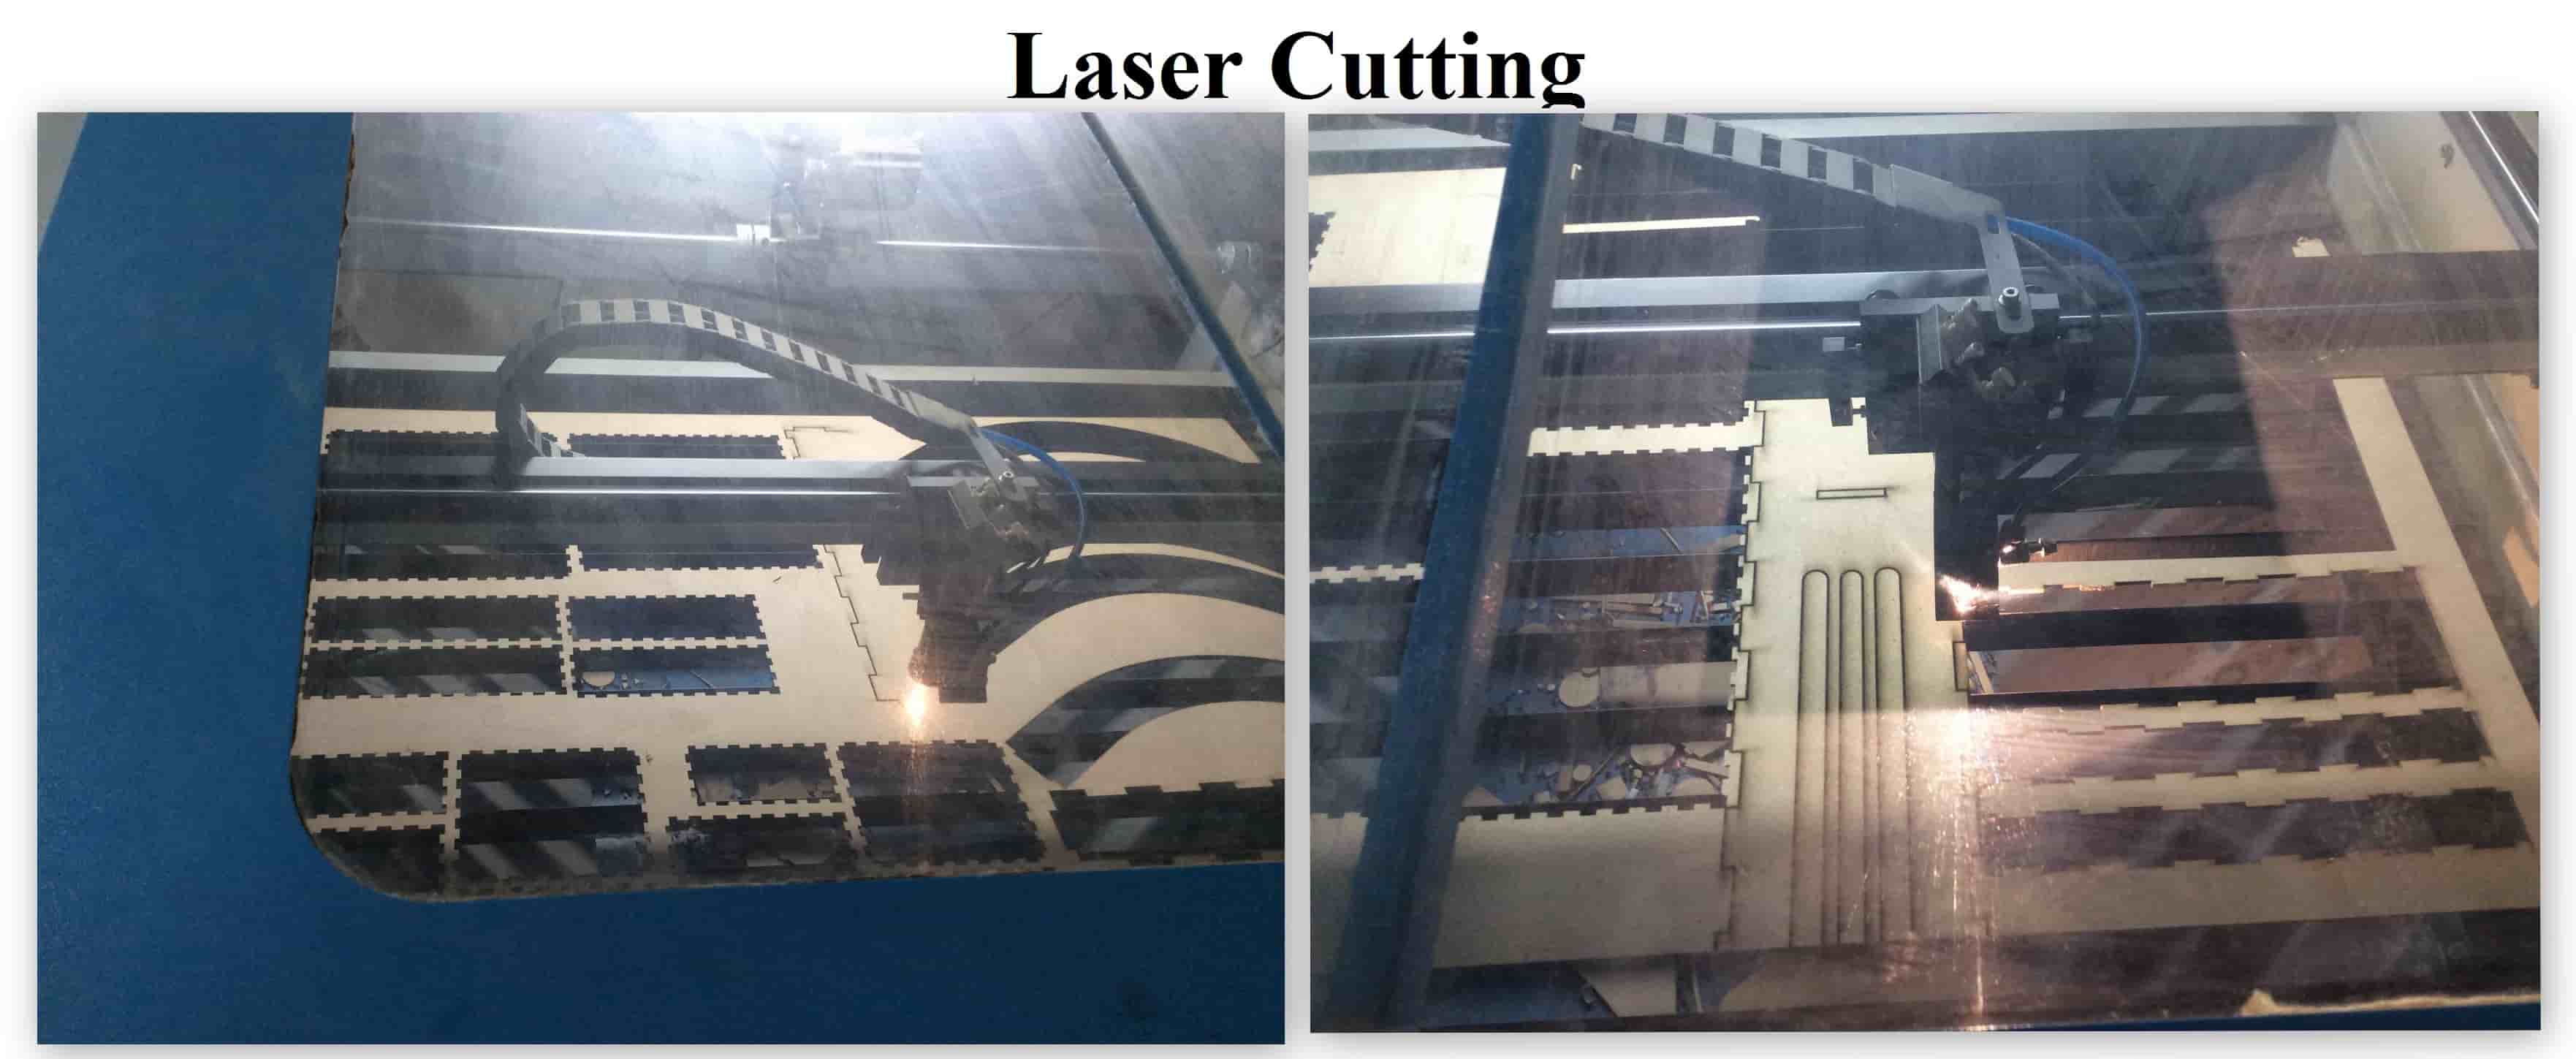
After all the Laser Cutting was done we both started to assemble the whole Machine. Assembly was not that easy also as each and everything was suppose to be placed exactly where it is meant to be without any miss alignment. Each and every rod, Stud Screw, everything has to be placed in proper holes and parallel to each other in case of guide ways. So after the Laser Cutting we placed everything together and started assembling it. We took Aluminium Rod for making guide ways for every Stud Screw we attached.
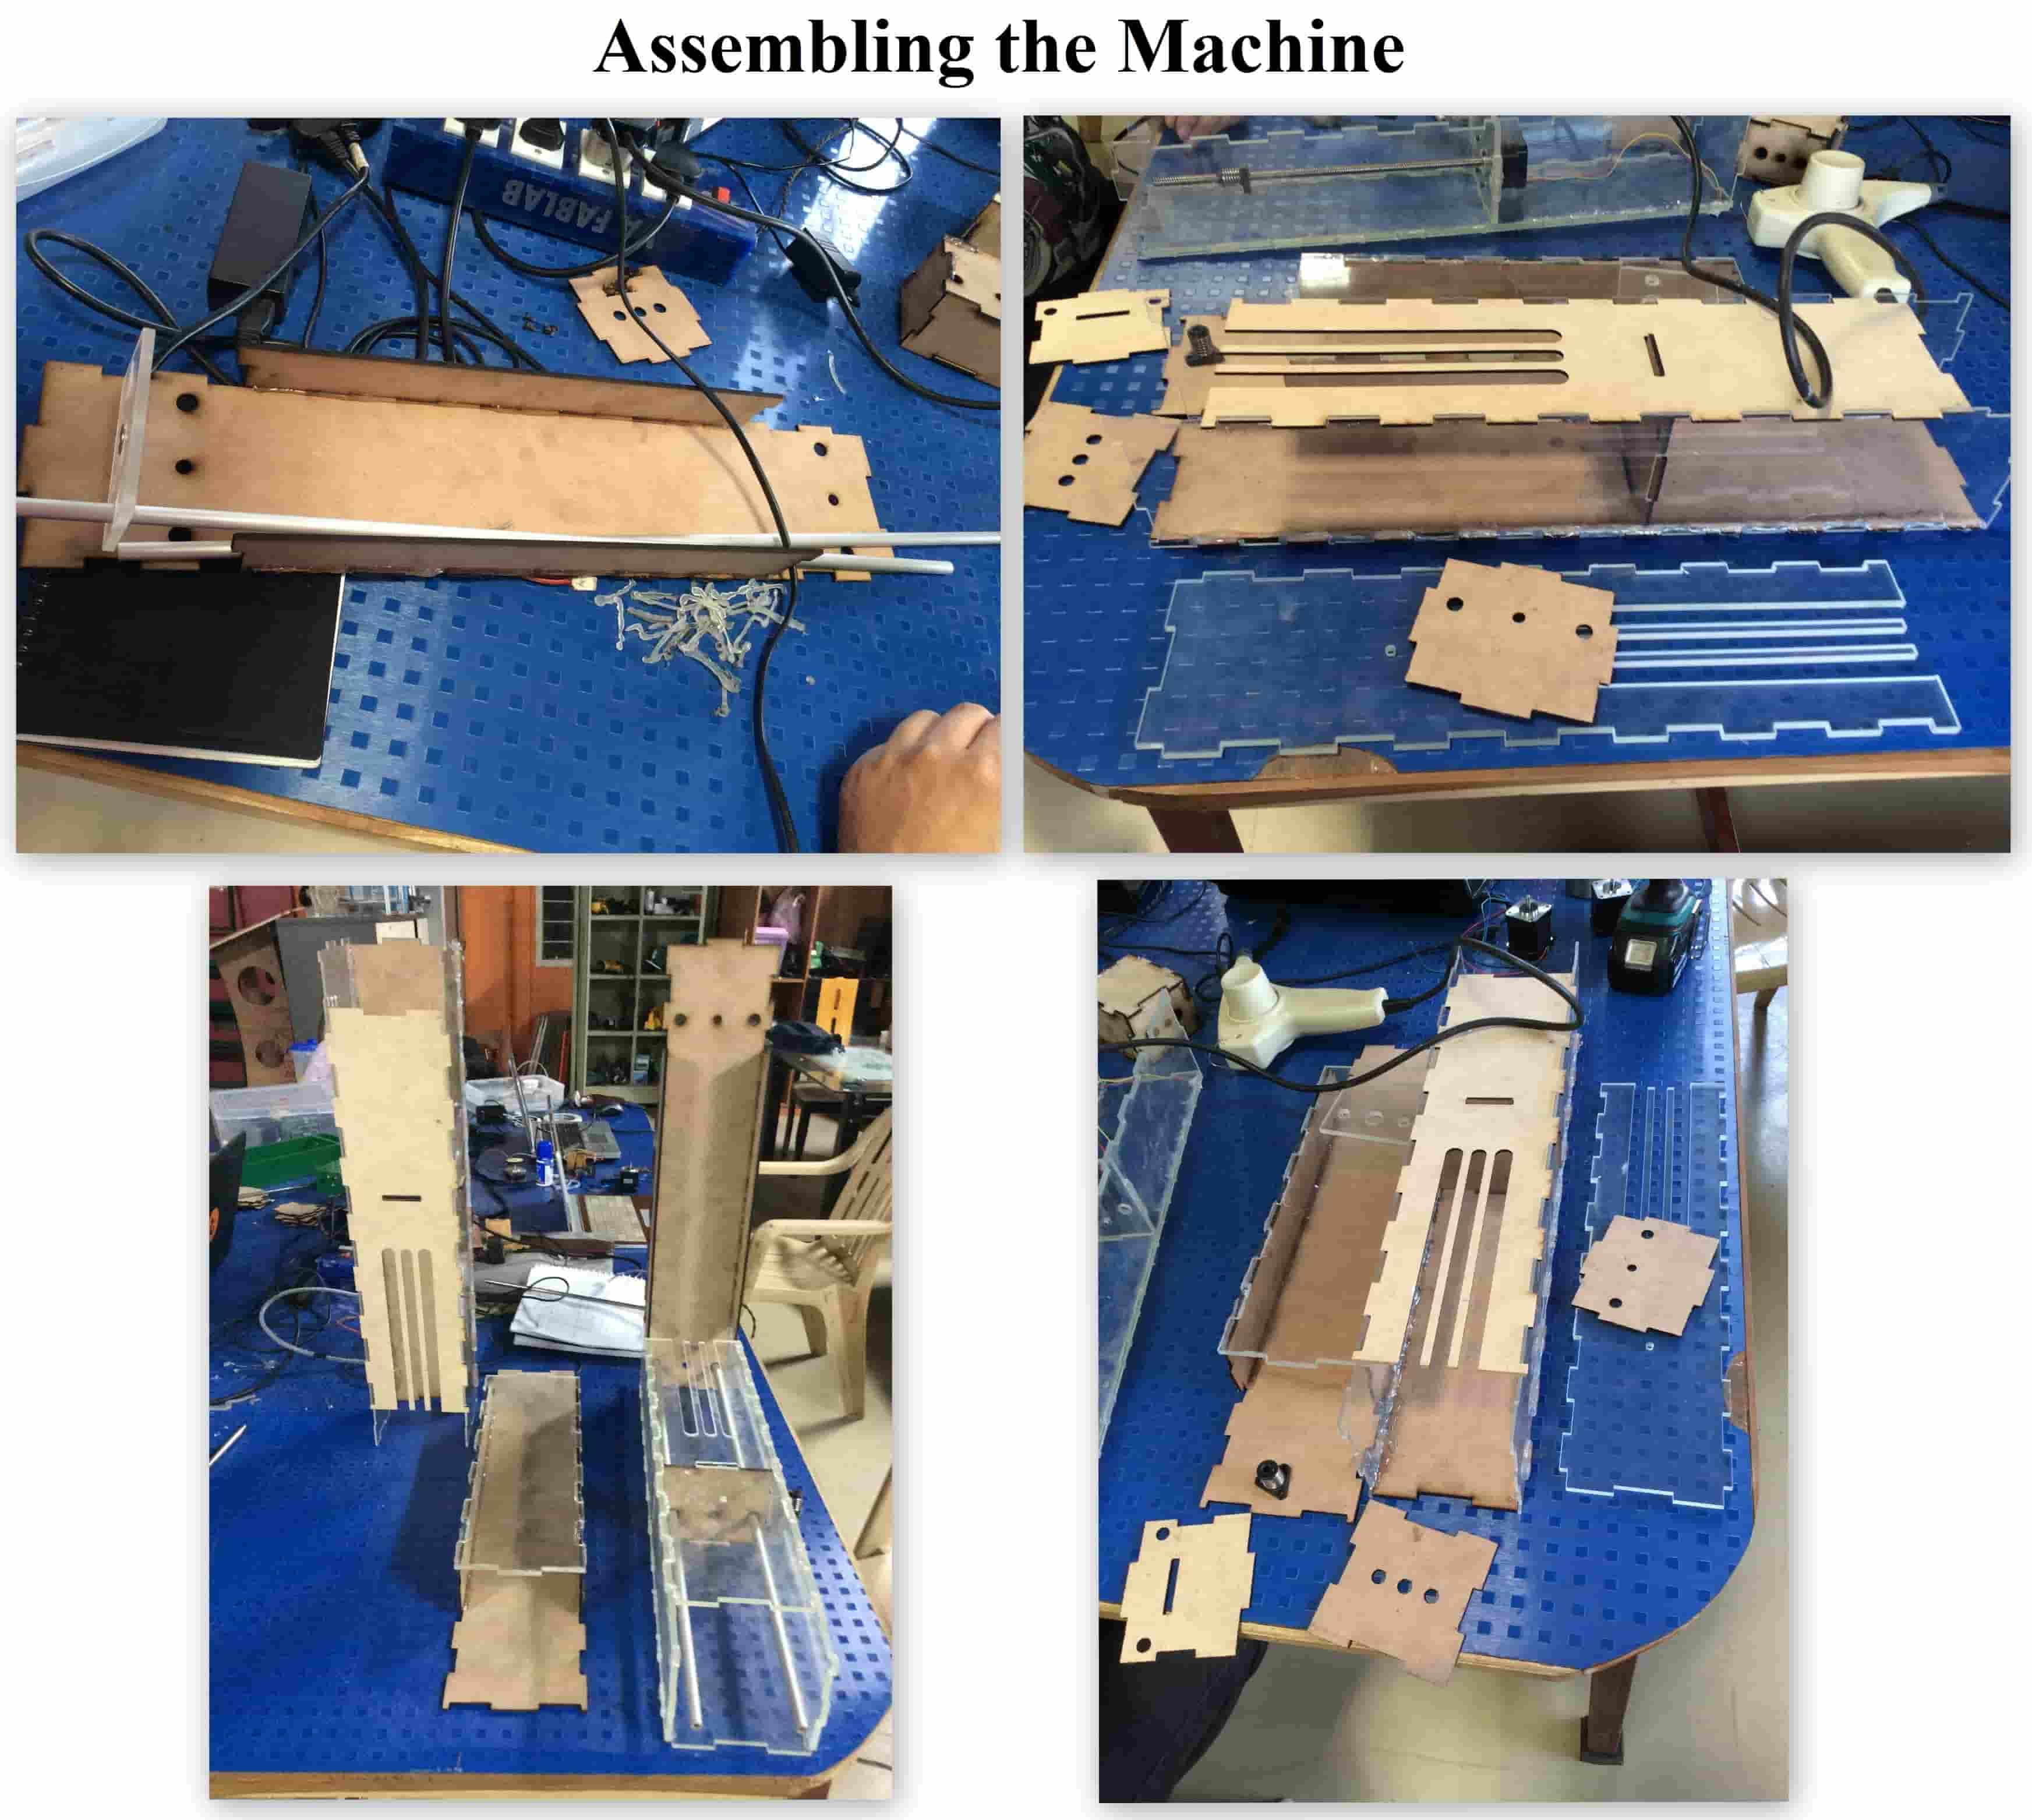
Arranging all the Laser Cut sheets and attaching it together we started assembling the Motor inside the casing and screwed it.
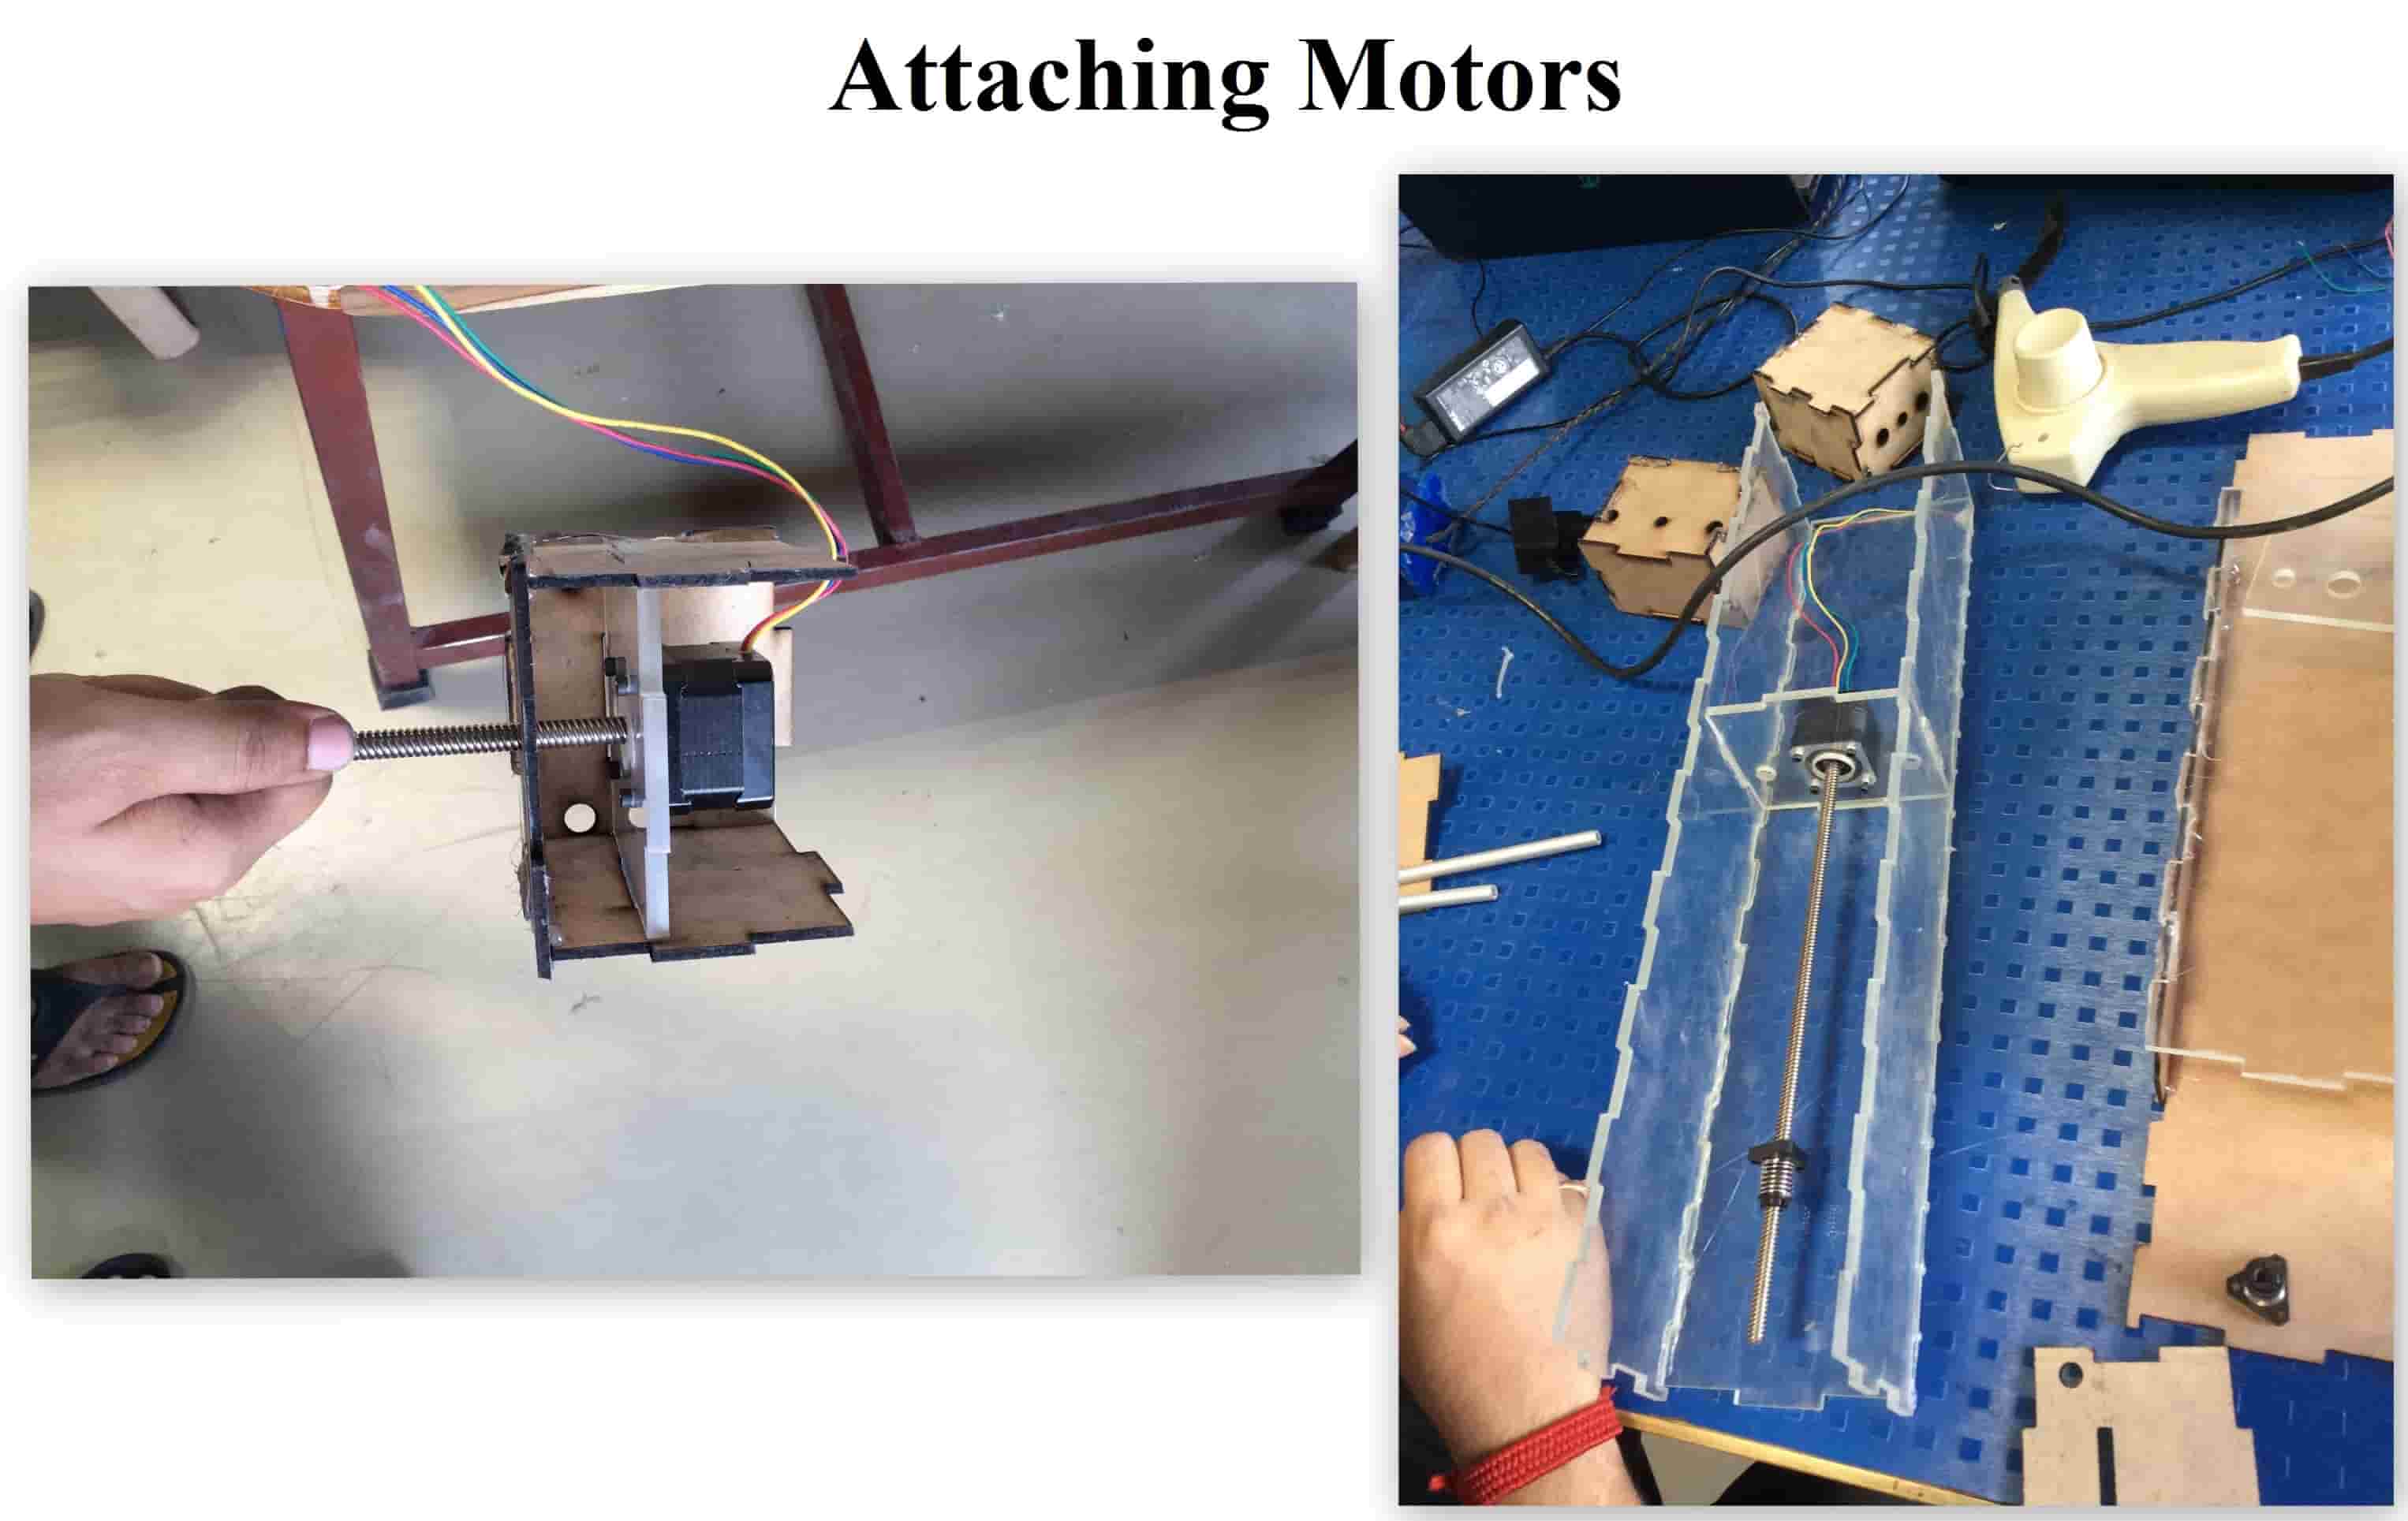
Final Assembly of the Machine with all the Motors connected is Shown below:

Our objective for making this machine was to make it a 3-axis Wood Carving machine, but as we finished everything of in the machine like Assembly and everything, even tested the X-Y Axis movement, then we figured that we were still lacking behind in the End Effector to put in our machine as we were not able to procure any specific Tool Holder and even any good Motor to used for Tool Movement. Then we decided to shift to another End Effector which would be just a Torch or Laser attached on the Y-Axis where our Motor was suppose to be attached. So what we were doing now is that we are using GRBL Fireware for operating the X-Y Axis and will be feeding it with a G-Code of a 2D design through G-Code Generator, the Torch or Laser attached on the Y-Axis moves and traces the 2D design feeded to it and we can see the motion of the Laser.
GRBL Firmware and Universal G-code sender for Running Machines
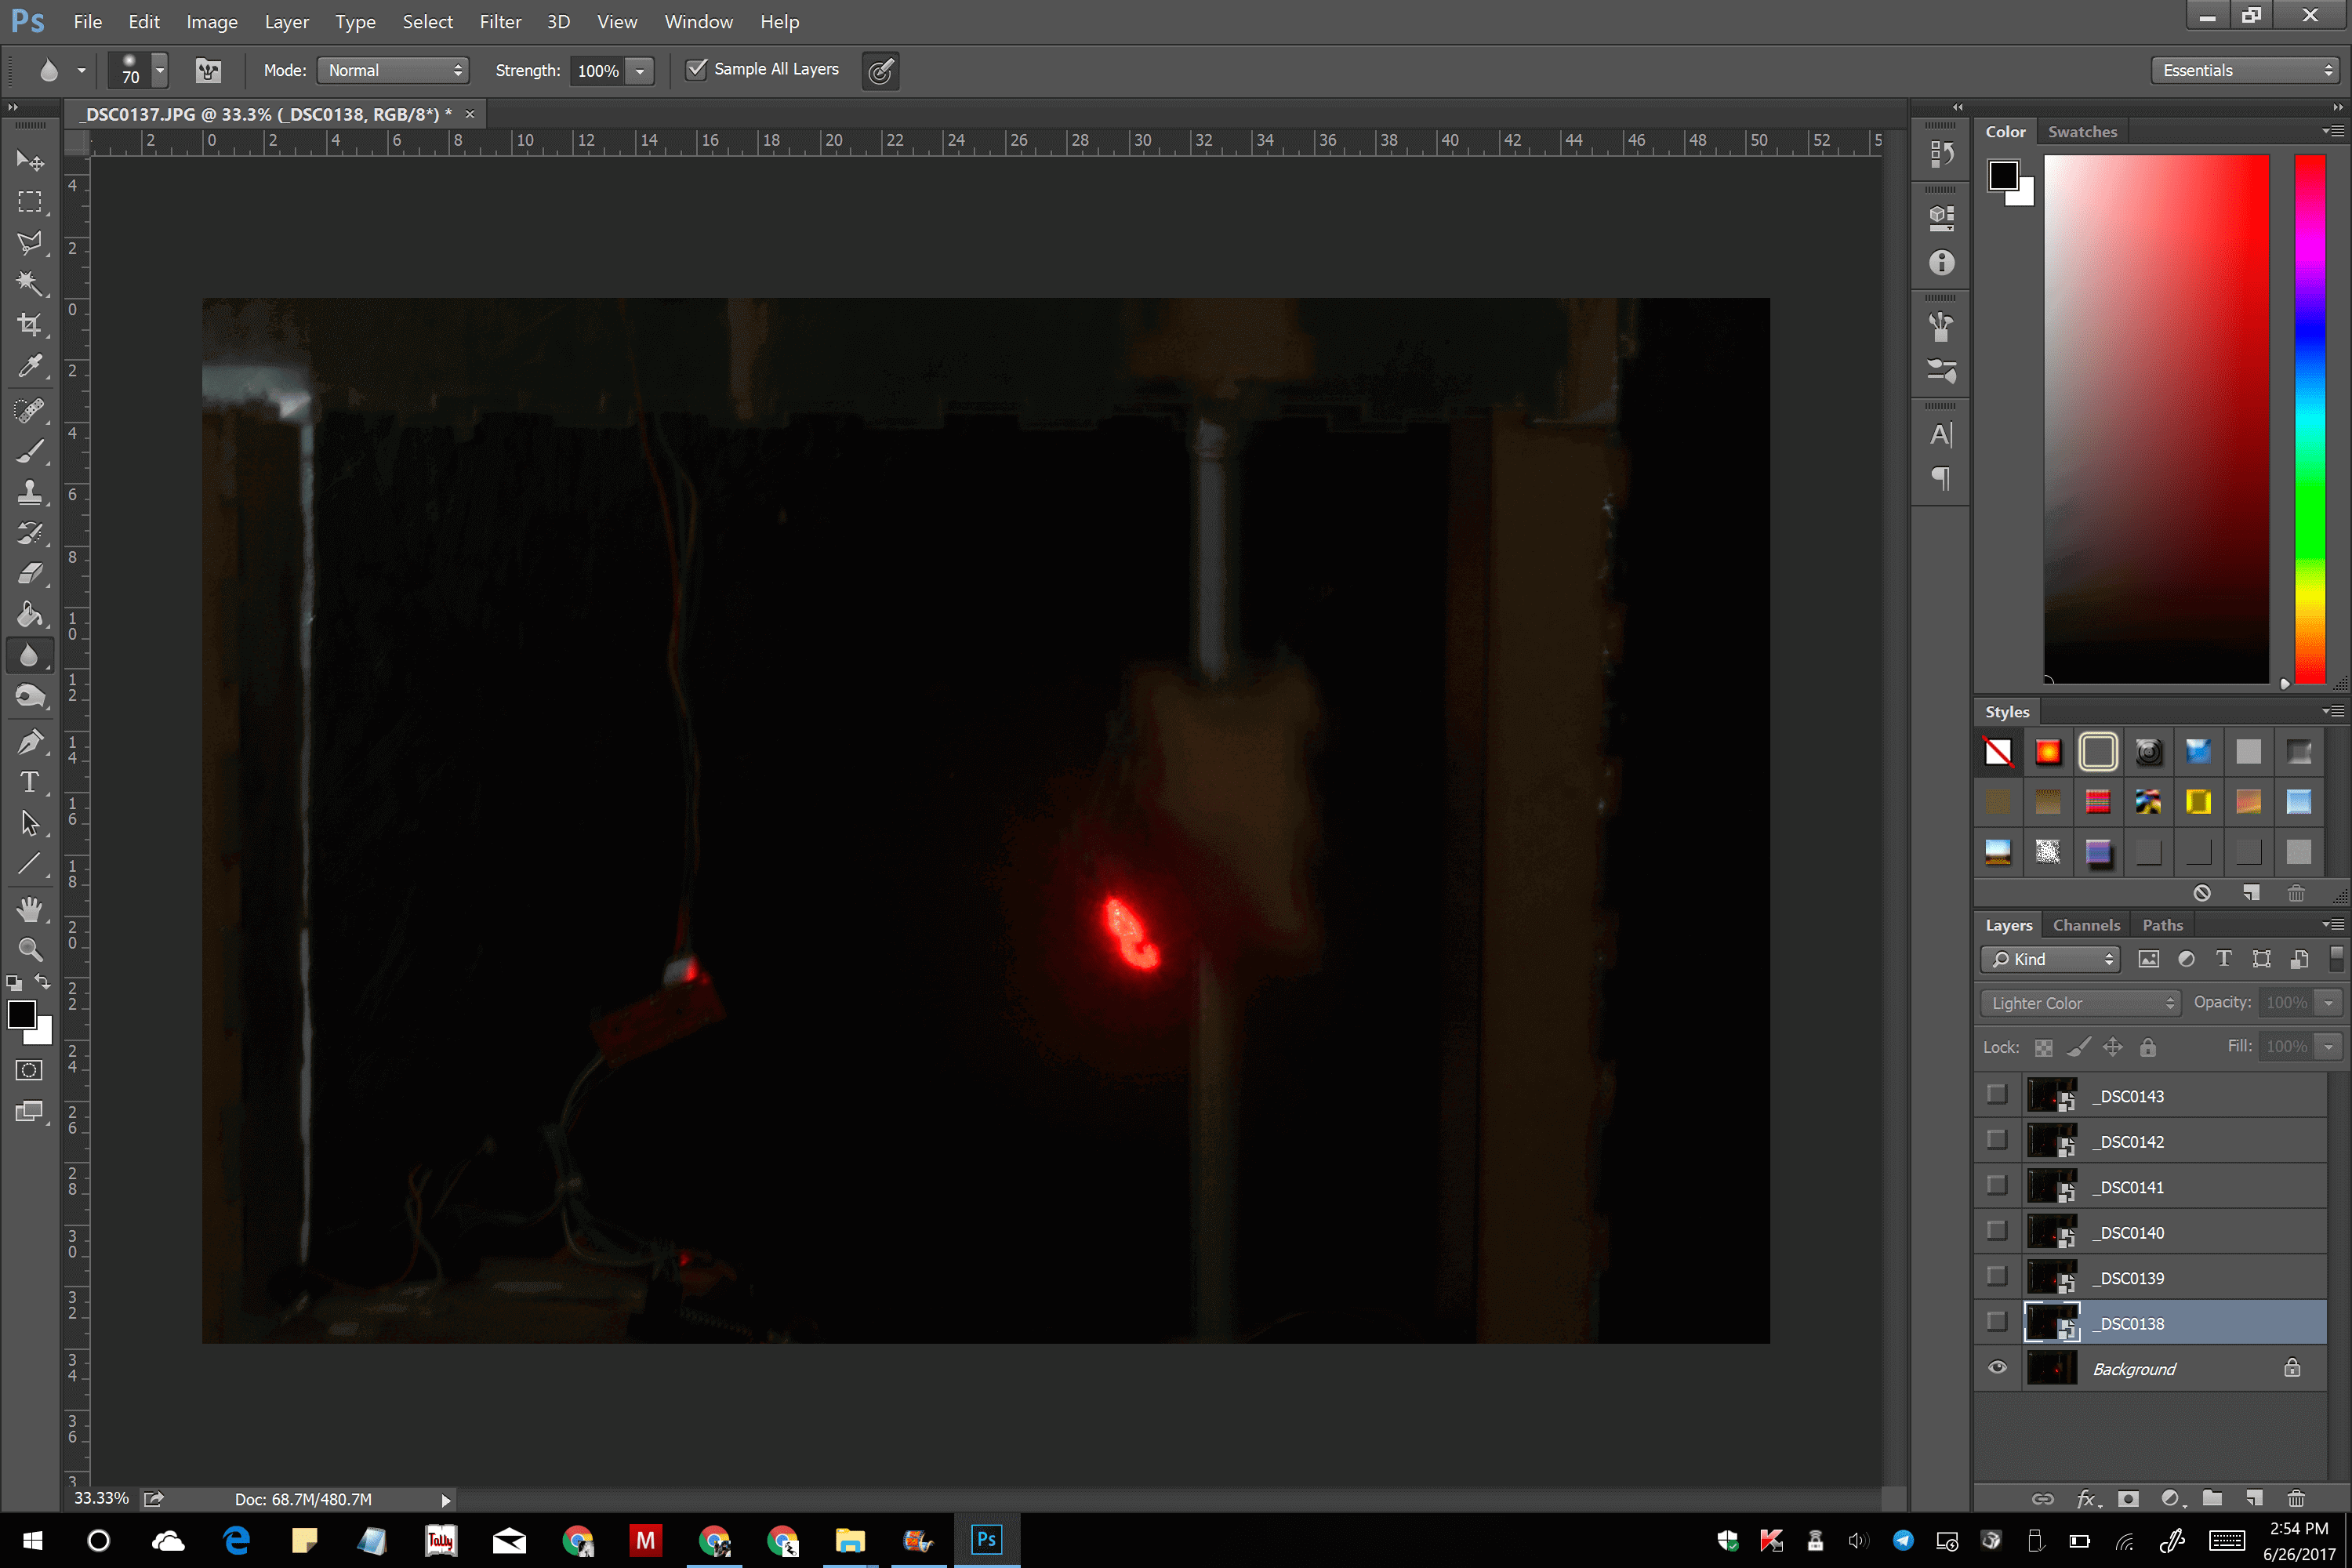
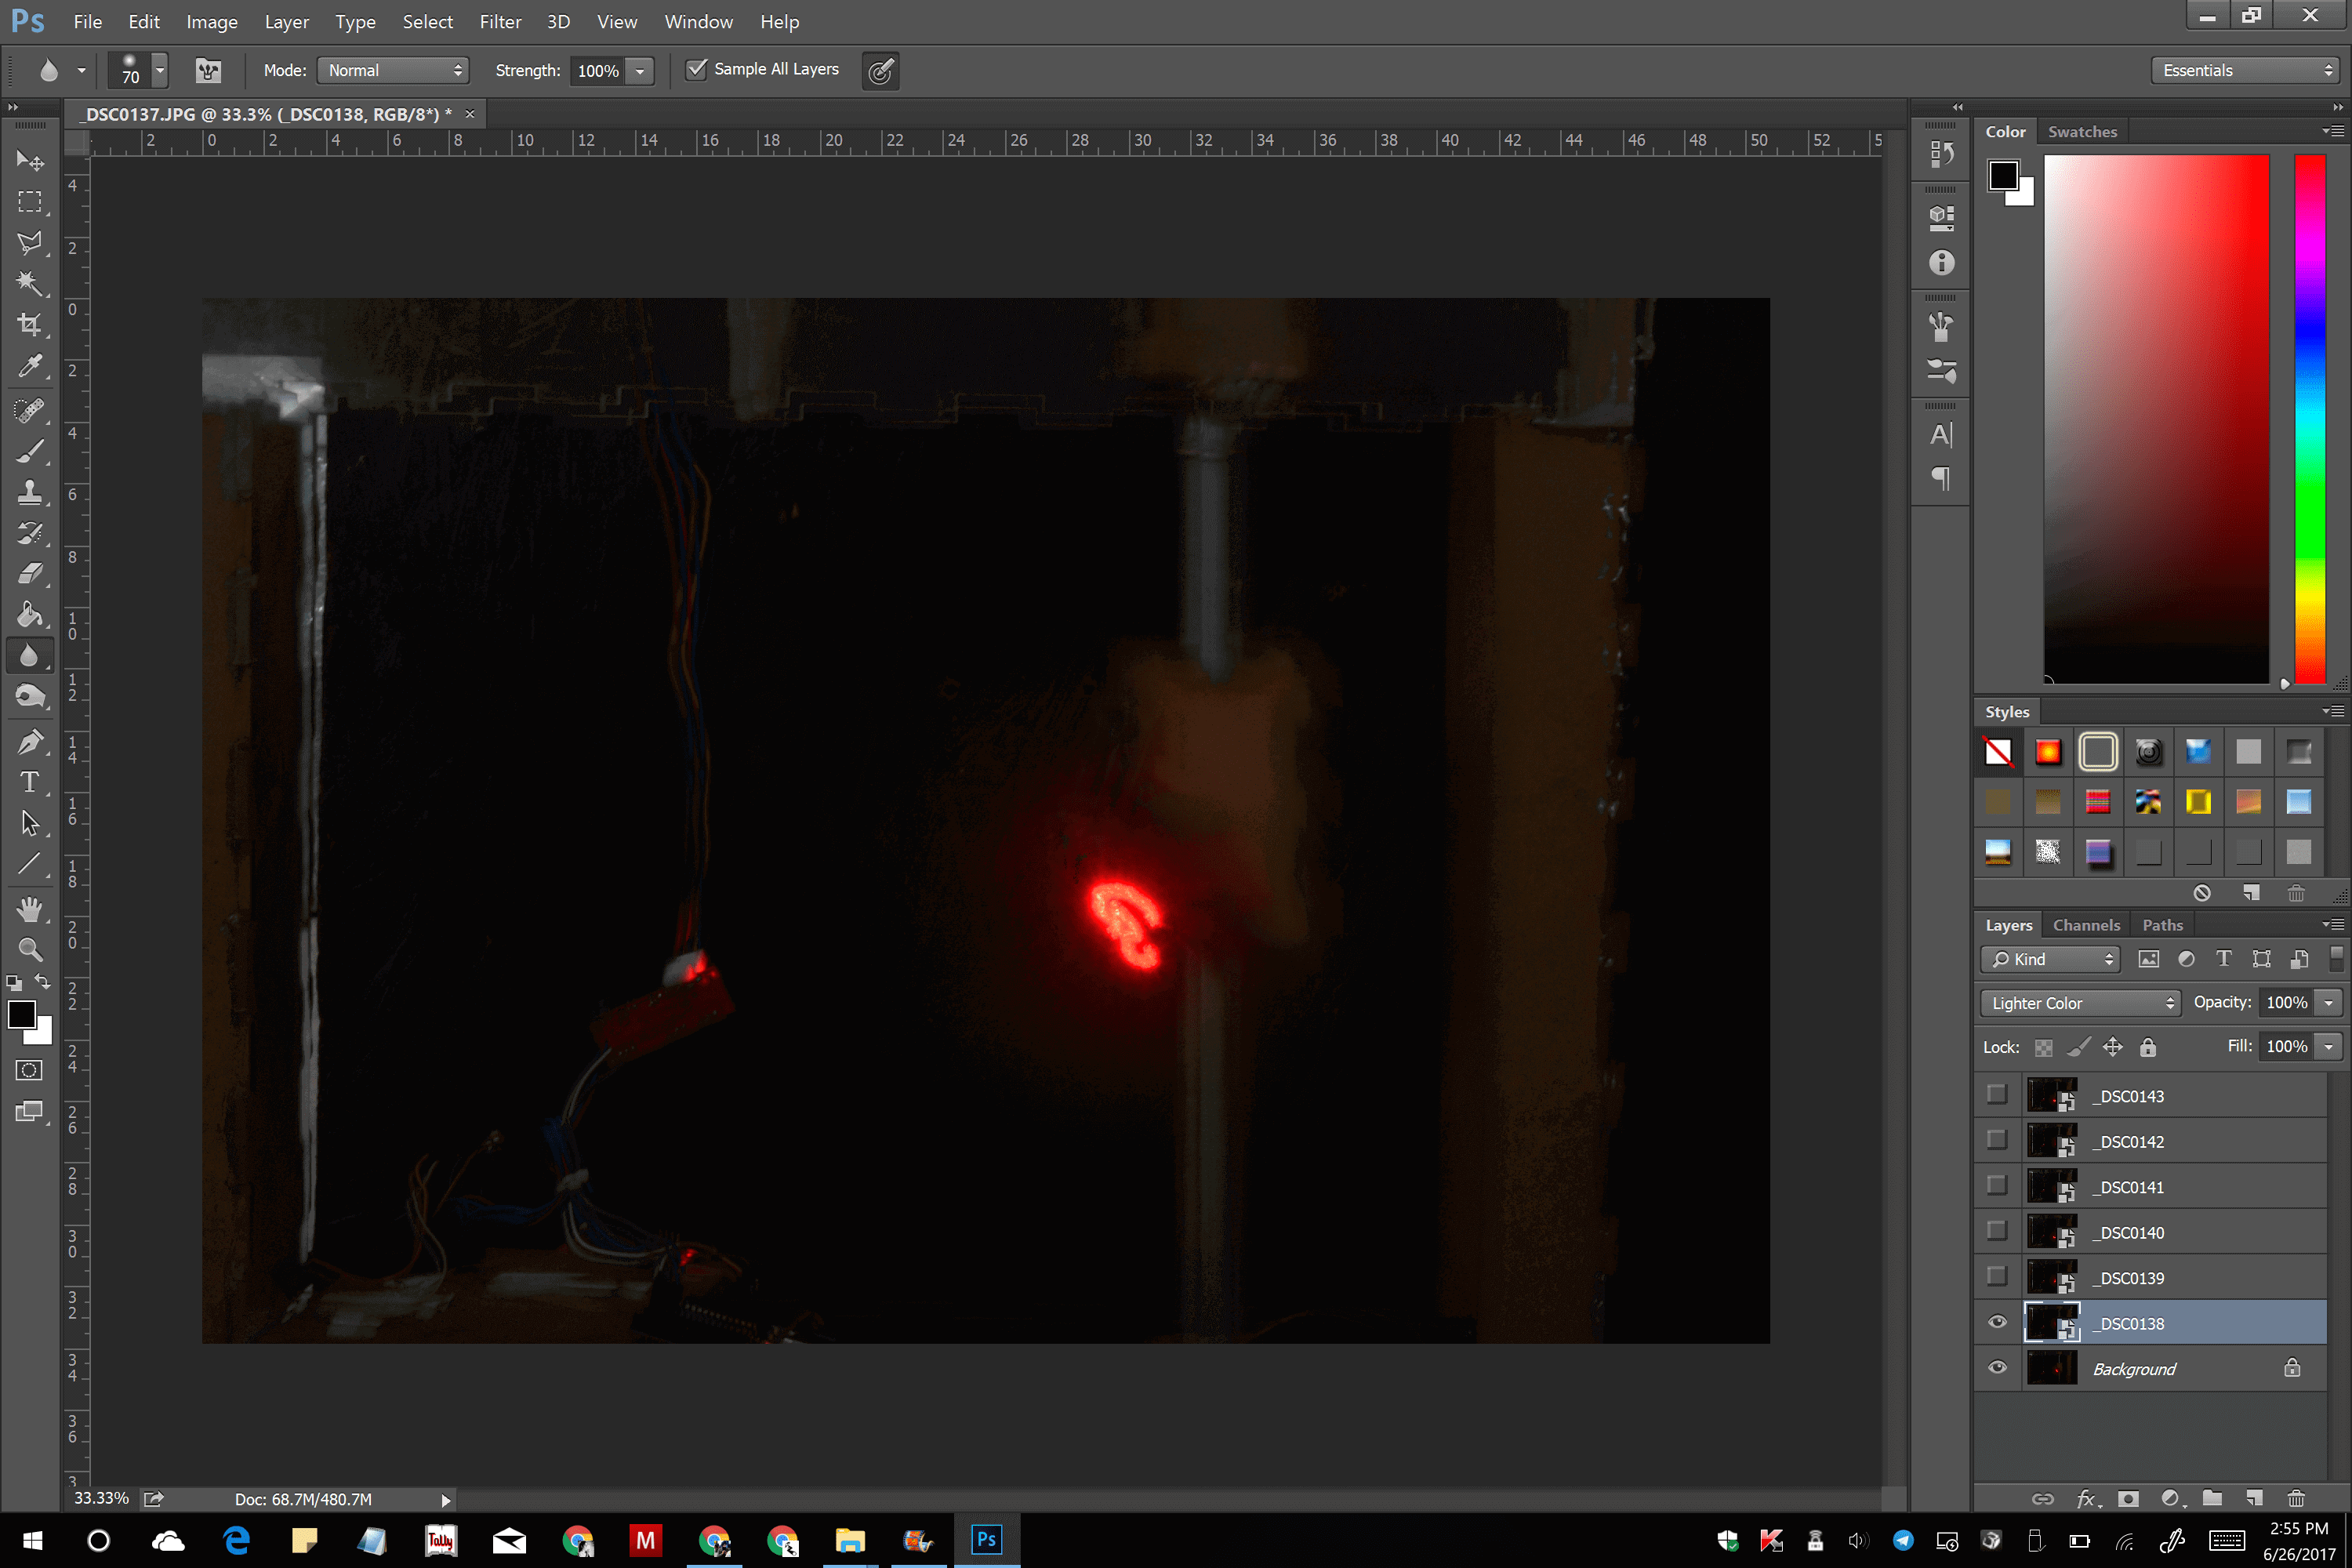
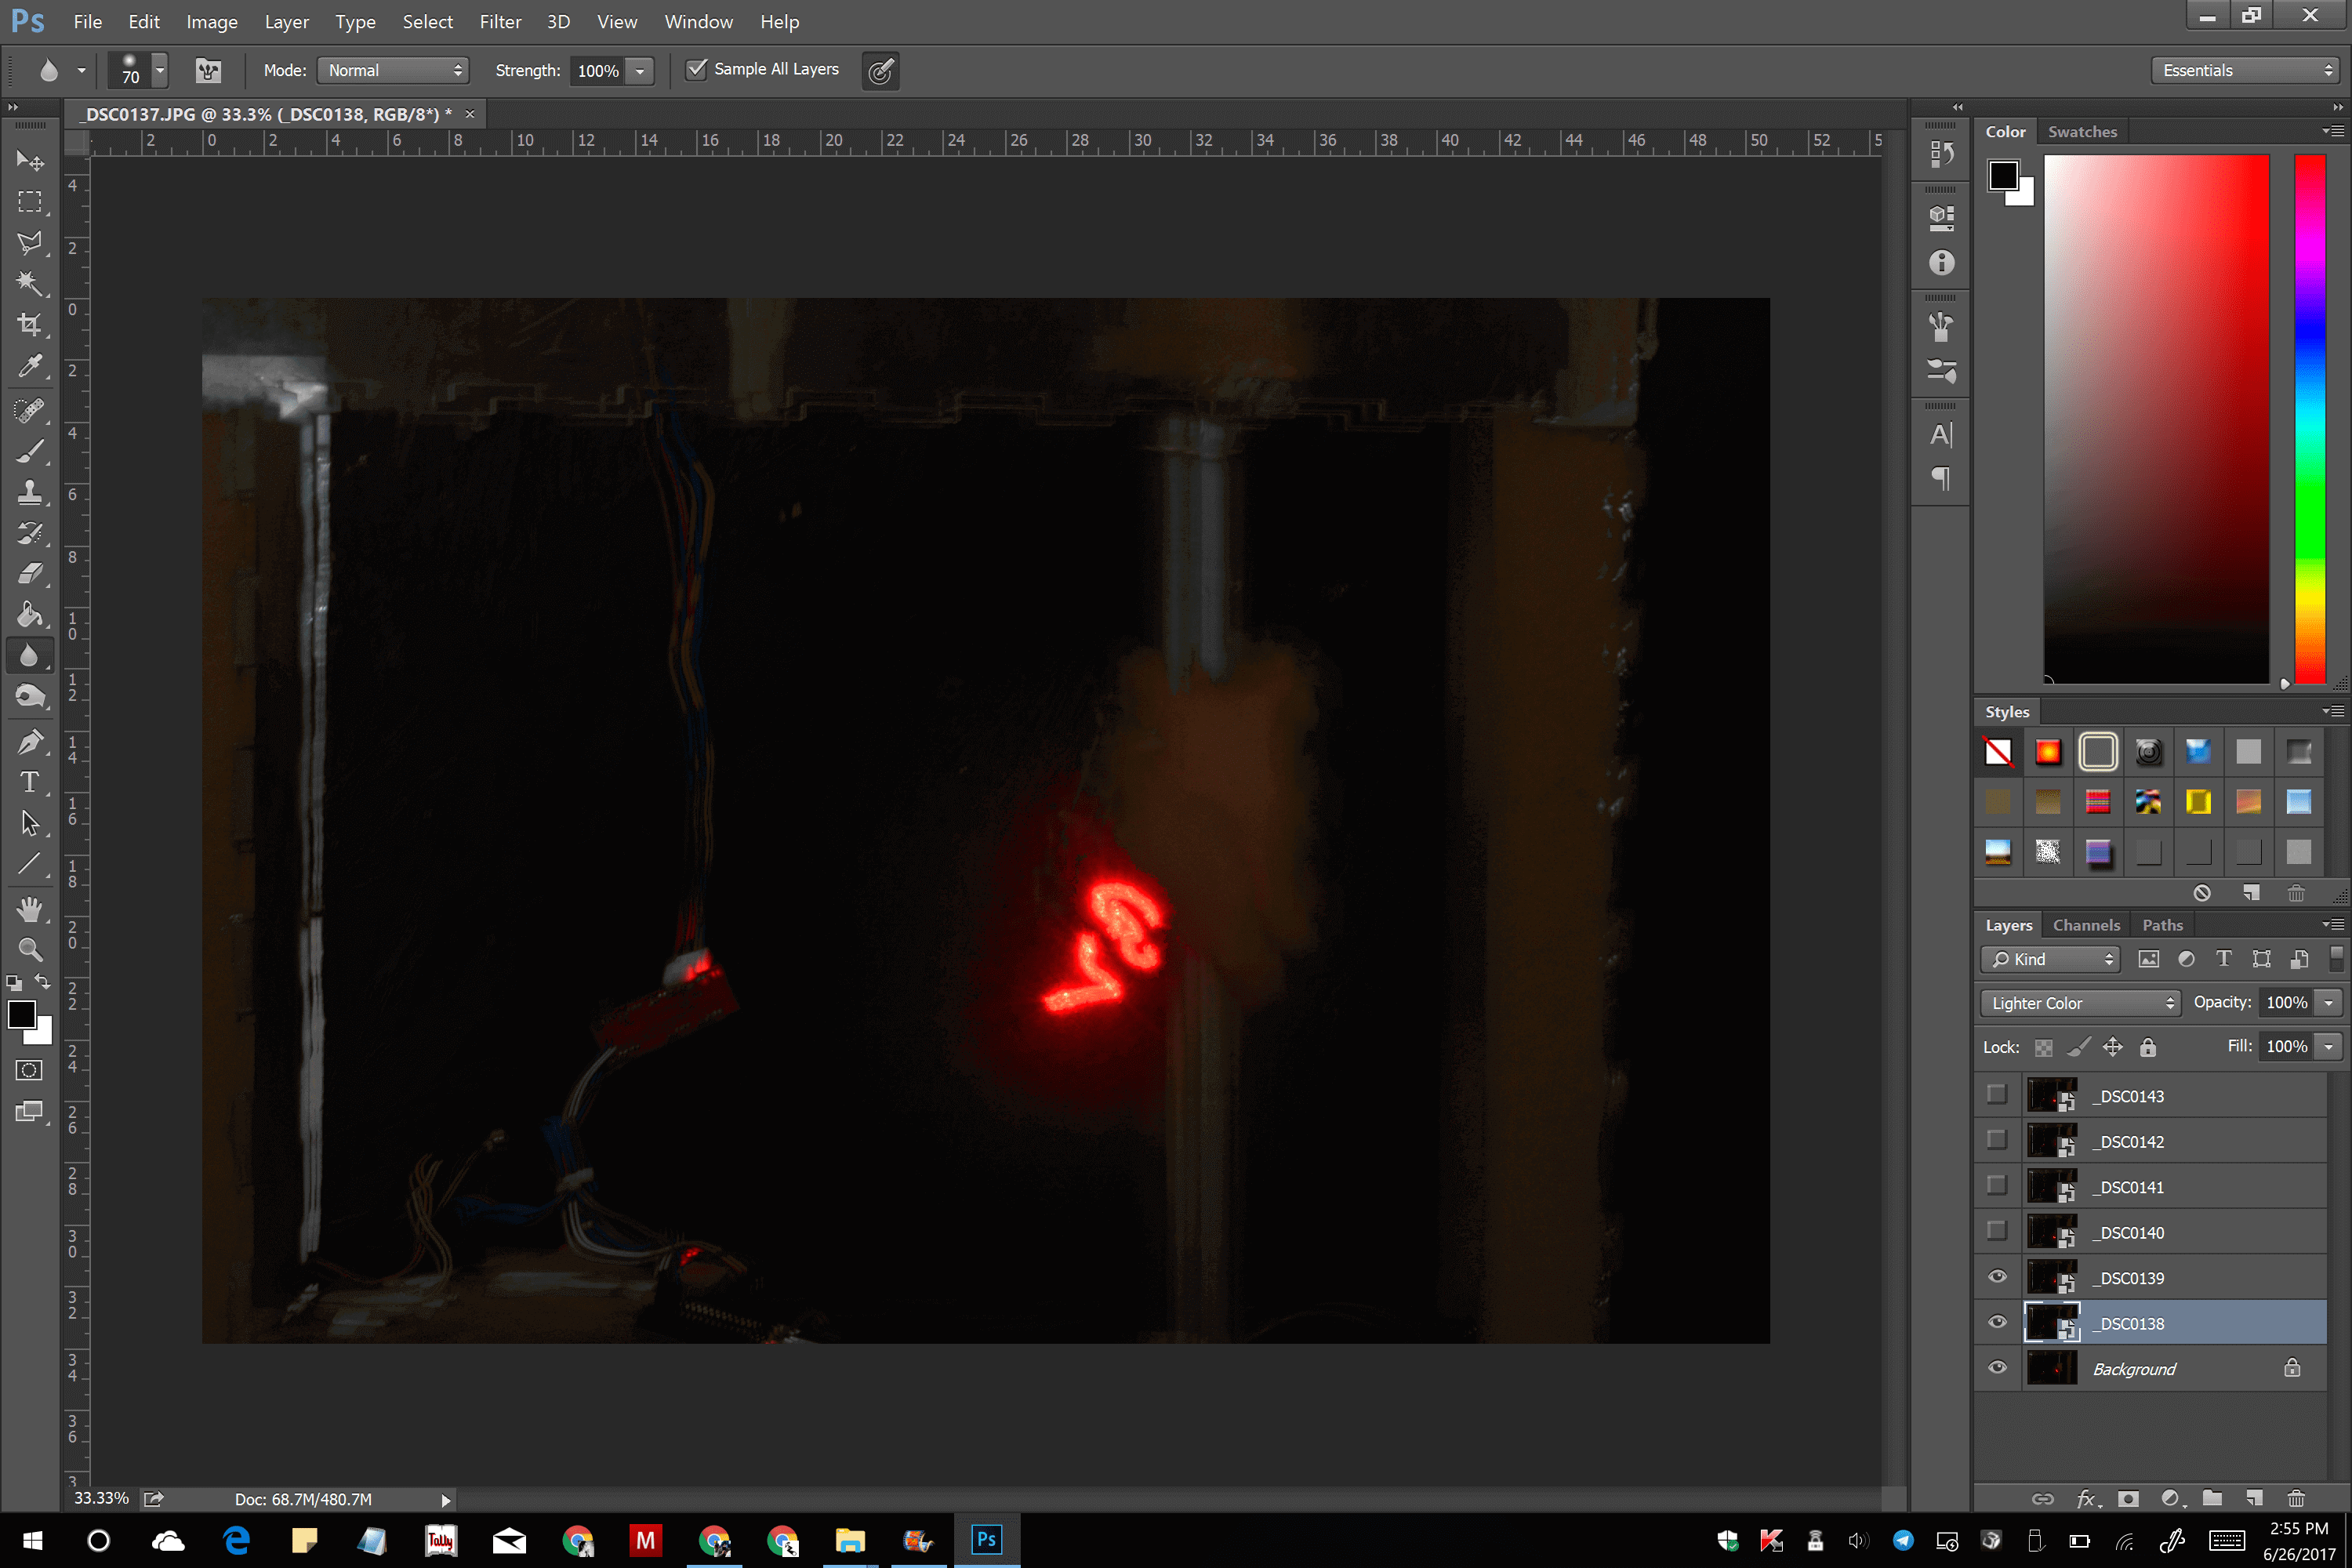
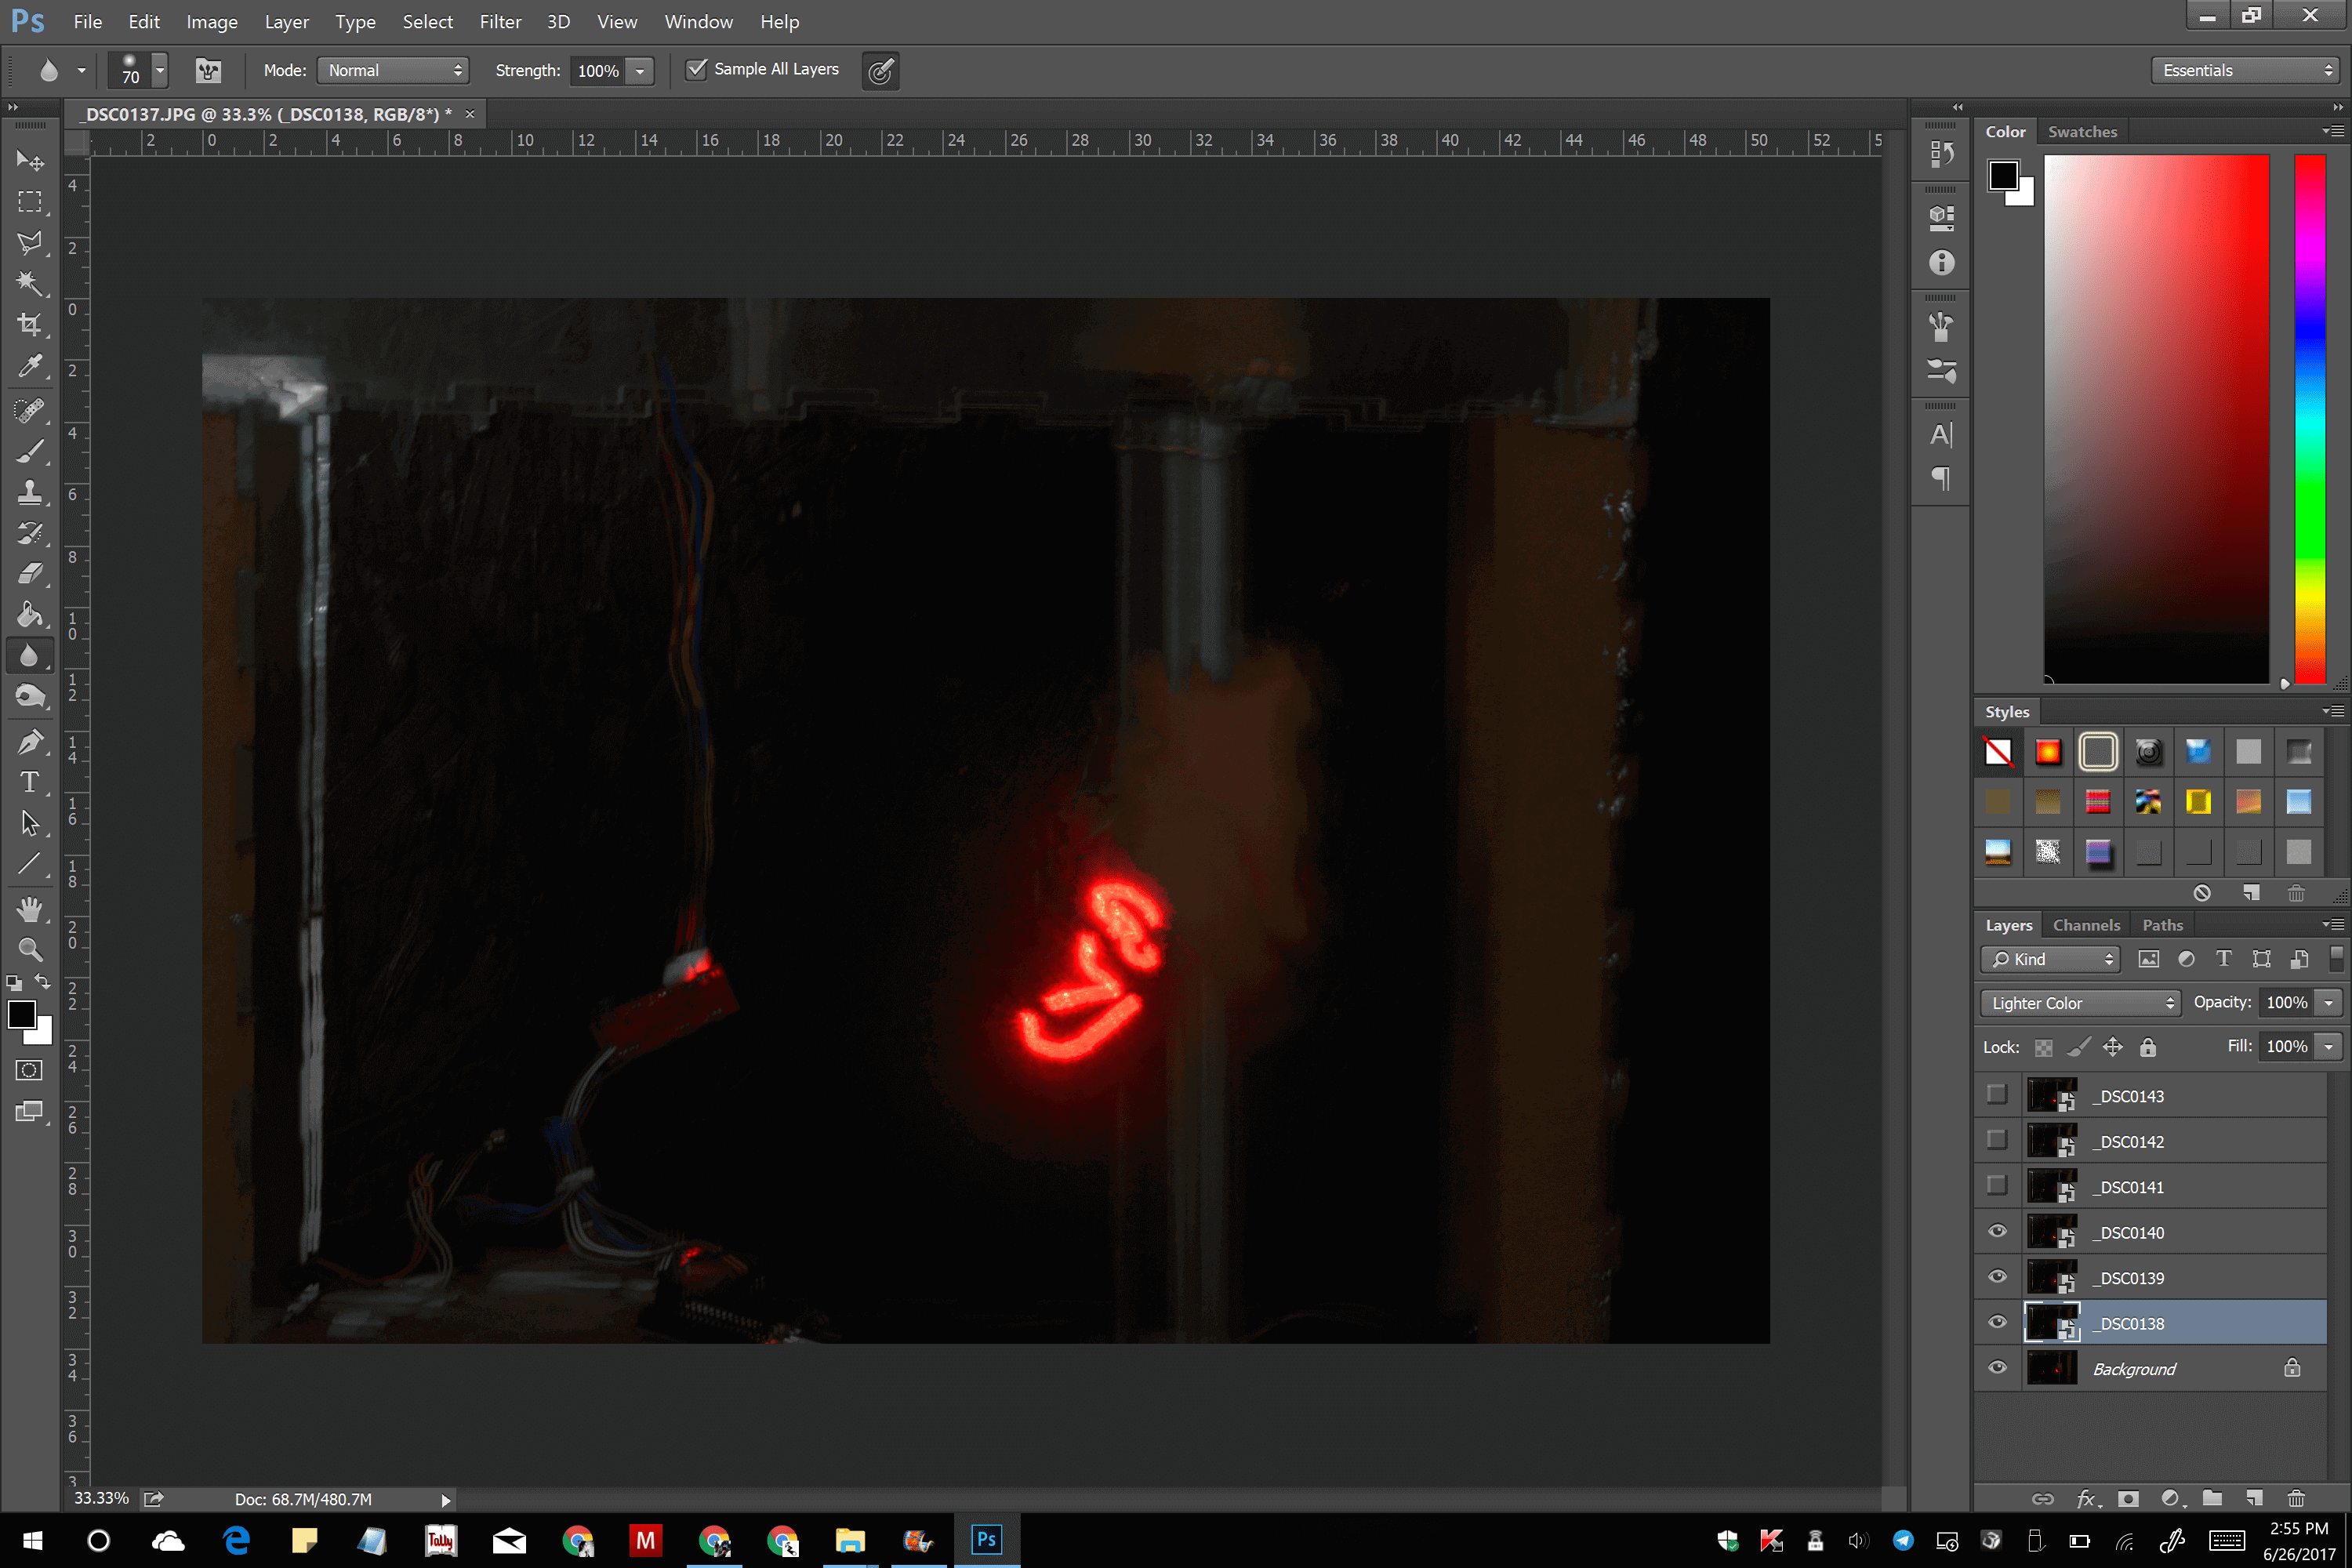
Trial and Error
Final Video of the Machine
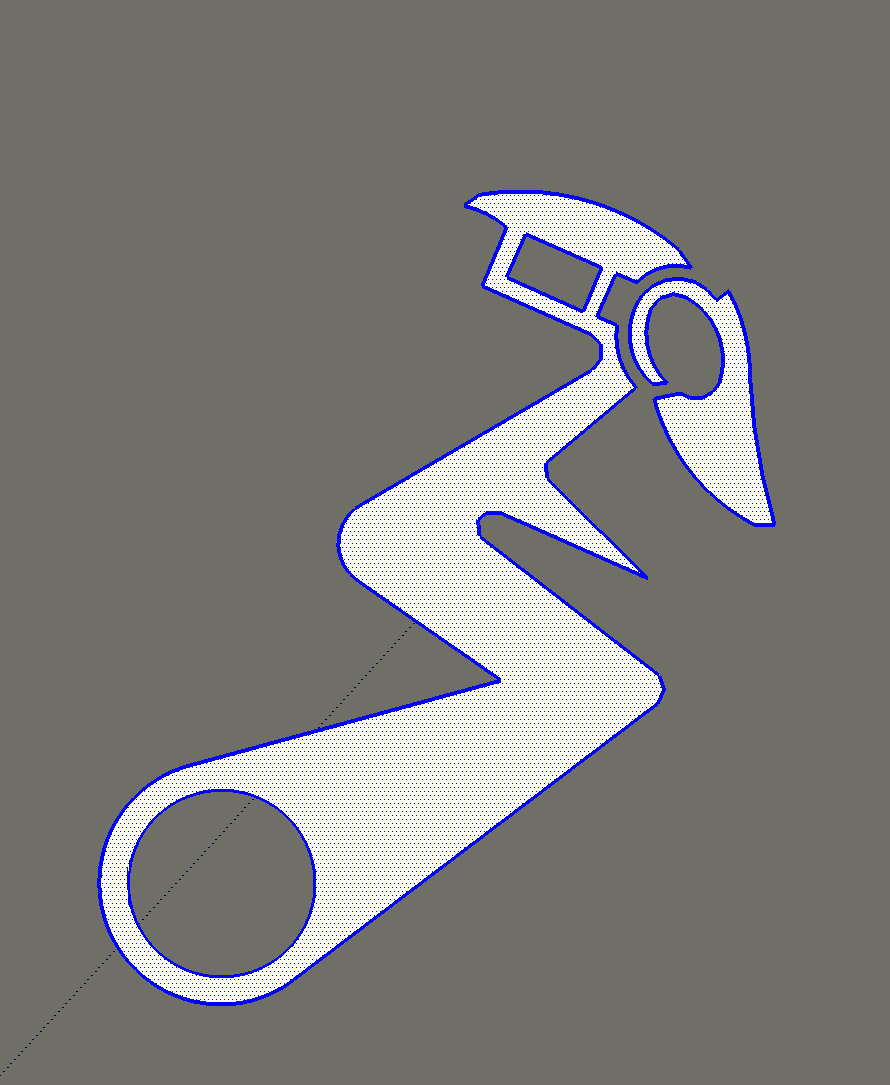
Laser Tracing the 2D File
We gave a 2D design to the Machine to trace via G-Code using G-code Generator to make g-codes. For more visit the page below of our group assignment.


For More Details about the Machine and to know more about the Group Assignment, visit the Link Below: